


Welcome to Mushroom Cultivation!
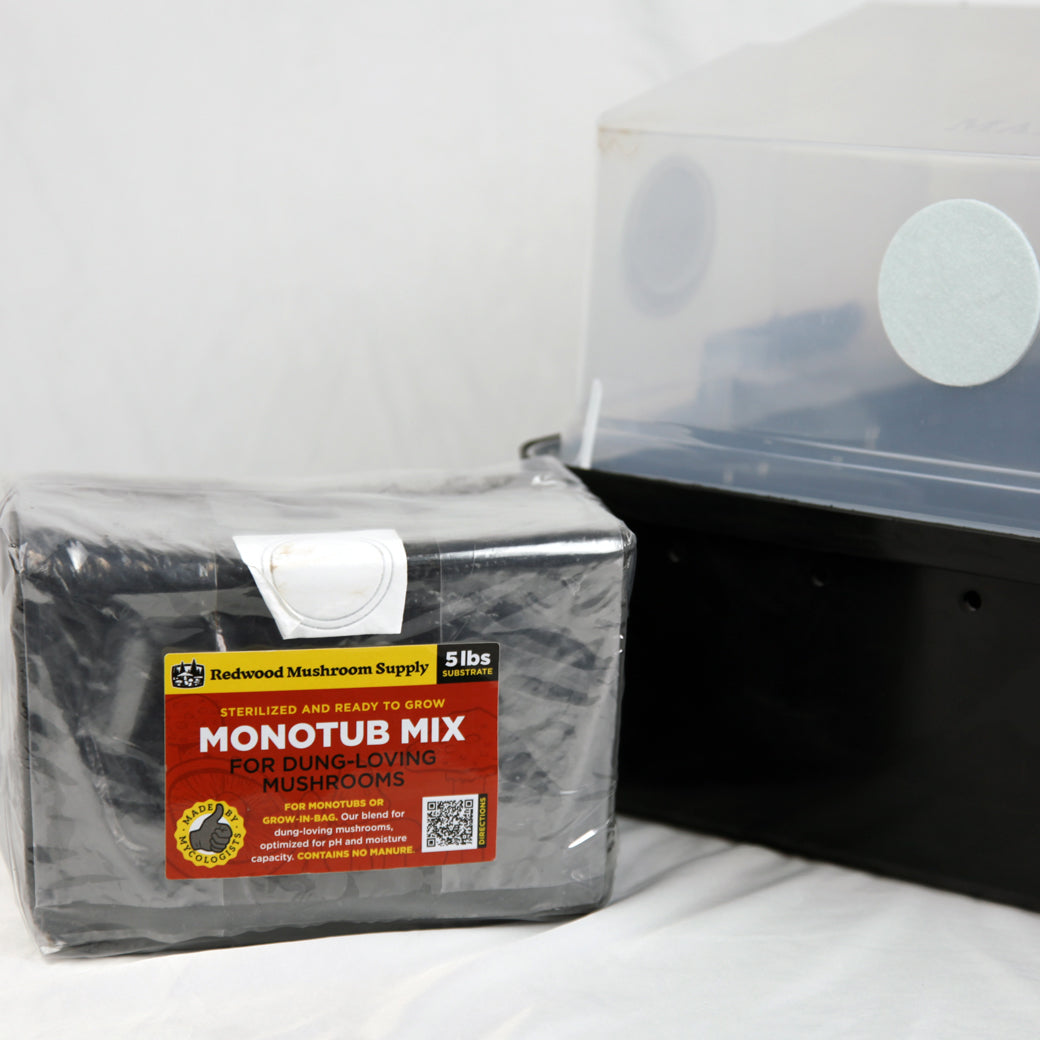
Whether you're a chef, gardener, or just curious about fungi, mushroom grow kits are the best way to start growing at home. They're designed to make cultivation simple, rewarding, and fast, with harvests in as little as 1-2 weeks.
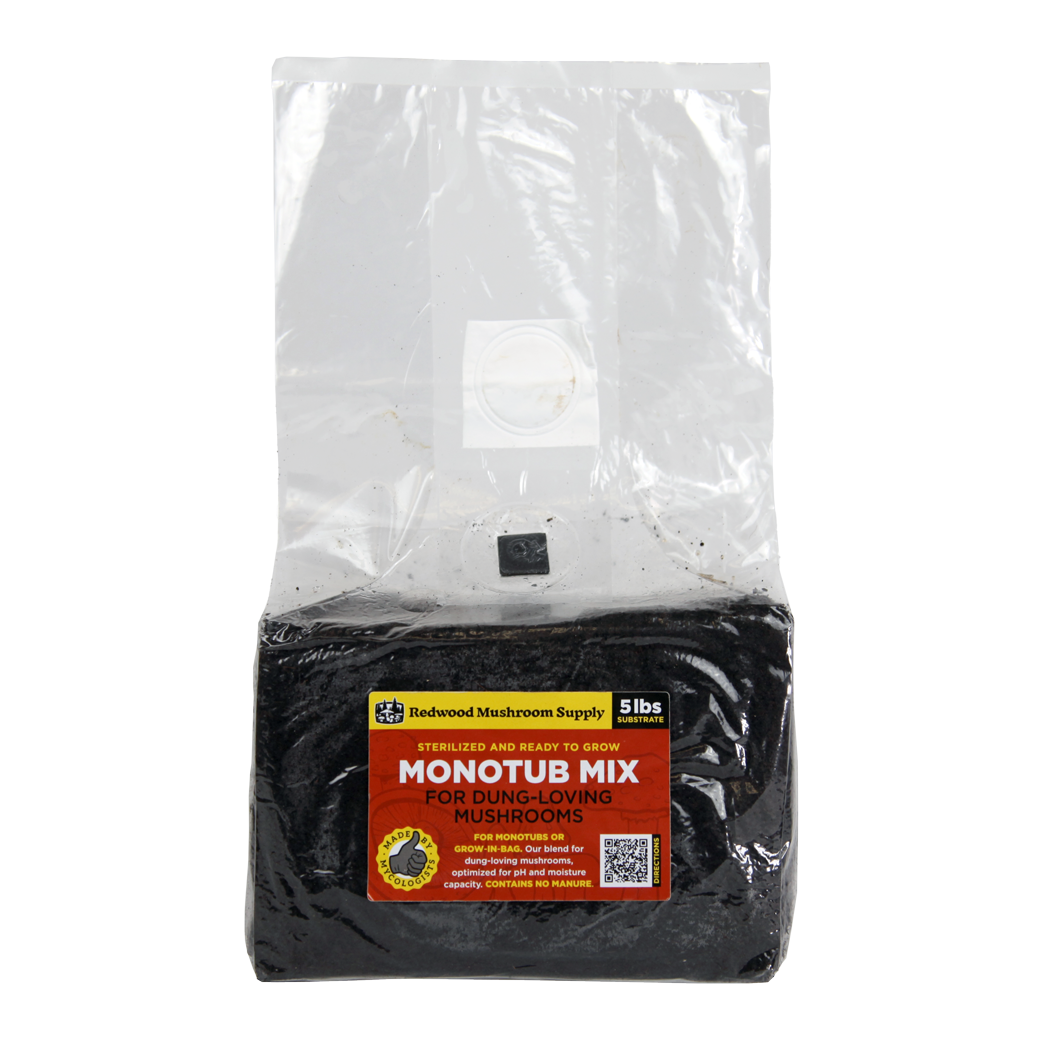
If you made your own grow kits with grain spawn, they'll need to incubate at room temperature for 7-10 days before you open them.
1. Find the Right Spot
Set your kit on a flat surface in a well-lit room with temperatures between 65-75°F (18-24°C). Avoid direct sunlight, heaters, and drafts from vents or fans. Bright LED lights or indirect sunlight are both good - if you can comfortably read in the room, your mushrooms will be happy.
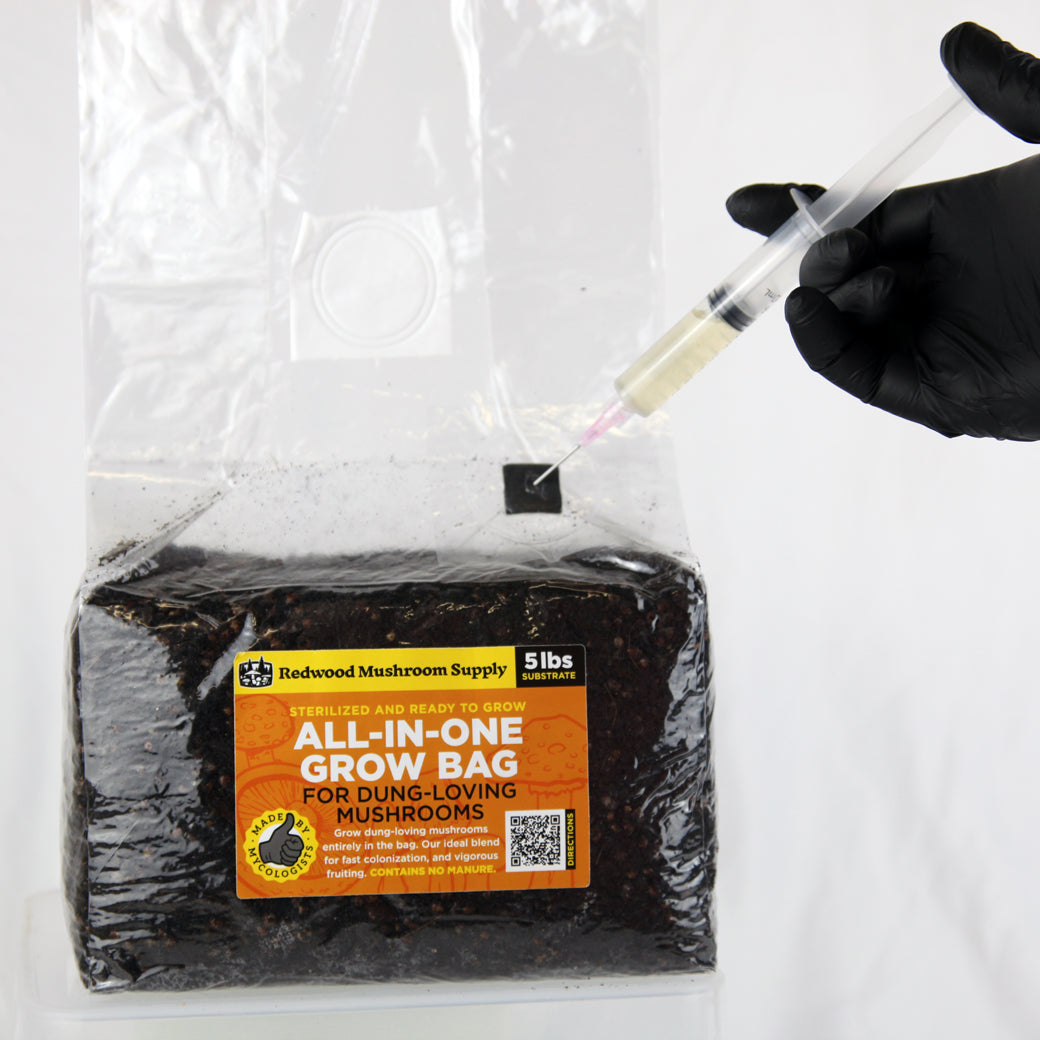
2. Open the Bag
Most grow kits come with a filter patch for airflow that has been sealed. If your kit has a marked location or sticker, that’s where you’ll want to cut an opening (about 1”x1”) using a clean knife or scissors. If there's no indication on where to open your grow kit, choose any side and make an opening in the center of the substrate.
• Be gentle - try not to cut into the straw or damage the mycelium.
3. Encourage Pinning
After opening the bag, your mushrooms will begin forming small “pins” within 3-7 days of daily misting. Mushroom pins, also called primordia, are simply baby mushrooms. Their appearance differs greatly between species, but most start as dense white growths on the outside of the mycelium.
If your grow kit already has pins growing on it, expose them to oxygen as soon as possible! Choose 1-2 pinning sites to grow and cut a 1"x1" window for them to grow through. Avoid opening too many spots at once, as this can cause the mushrooms to grow poorly.
4. Mist Frequently
Use a clean spray bottle to mist the area around the mushroom at least 5 times a day - it's almost impossible to over-water mushrooms, but avoid fully saturating mature mushroom caps.
• Mist with 5-10 sprays from about 8-12 inches away.
• Avoid soaking the block - your goal is high humidity, not standing water.
• Placing a clear plastic bag or tub with holes over the kit can help trap humidity if your space is dry. Watch for long stems or coral-like growth - this usually means your mushrooms need more fresh air.
5. Harvest Time
Most mushrooms are ready to harvest within 7-10 days after opening.
• Try to harvest the mushrooms before the caps start to flatten out. The Phoenix Oyster should be allowed to curl slightly, but other species are best harvested while the cap margins are still facing downwards.
• Gently twist or cut the cluster at the base to harvest.
• If you see white powder (spores) below the mushrooms, harvest them immediately. Quality and shelf life begin to deteriorate once spores are released, but these are still great mushrooms that can last 5-7 days in the fridge.
To harvest, grab the mushrooms at their base and twist, then pull away from the substrate. It's good to pull a bit of straw out with the mushroom, it's best to not leave the stem behind as it can become susceptible to contamination.
After the First Flush
Your kit can often grow 2 or even 3 flushes with the right care:
- After harvesting, seal the cut opening with packing tape.
- Let the block rest 5-7 days at room temperature.
- Then, cut a new opening in a different area and start misting again.
If growth slows significantly or contamination like green or black mold appears, it’s time to compost the block.
How to Cook Your Mushrooms
Our favorite way to enjoy any mushroom is roasting!
- Preheat your oven to 400°F (204°C).
- Toss mushrooms with olive oil, salt, and pepper (or your favorite seasoning).
- Roast for 30-40 minutes until crispy. Large or thick caps may need longer, while smaller caps may only need 25 minutes.
They’re delicious on their own or roasted with onions, peppers, zucchini, brussels sprouts, or sweet potatoes for a perfect veggie medley.
What to Do with a Spent Kit
After 2-3 harvests or if contamination takes over, your kit is spent - but don’t throw it away!
• Compost it or bury it in a garden bed to improve soil.
• Some kits may even fruit outdoors if placed in a shady, moist area. It can help to lay down wood chips and set the grow kits on top - their mushrooms may release spores to inoculate the chips!
Keep Growing!
Ready to try a new variety or grow even more? Explore other kits or check out our Practical Guide to Mushroom Gardening to learn how to save money using grain spawn.
1 comment
Hi! This information answered most of my questions. When composting, remove straw from the bag?