


Please Note: The first step in growing mushrooms is having no idea where to start. Once you've accomplished that, you're ready for this guide!
In this guide, you'll learn how to grow oyster mushrooms on cold-pasteurized straw using grain spawn. This technique doesn't require any special equipment and only takes a few hours on the weekend to grow 20+ pounds of mushrooms over 1-2 months. Setting up an outdoor mushroom garden is a fun, affordable project that can be done in an afternoon.
Before You Begin
If you're just getting started, we recommend following the "work backwards" principle and ordering a few mushroom grow kits to learn how to fruit mushrooms first. Although they're not a very cost-effective way to grow mushrooms, the experience gained is well worth it. It's important to see and smell healthy growth before deciding to inoculate your own substrate.
Step 1: Pasteurization
Pasteurization is an important first step in mushroom cultivation. It eliminates most of the competing microbes in the substrate while creating a more hospitable environment for your mushrooms. Most growers pasteurize sawdust with heat, but we recommend pasteurizing straw with hydrated lime because it's easier, more affordable, and grows the best oyster mushrooms!
Check out our detailed guide on how to pasteurize straw for growing oyster mushrooms
Step 2: Inoculation
Once your substrate has been pasteurized, it's ready to be inoculated with mushrooms. This is where cleanliness is most important because you'll be mixing straw and grain spawn by hand. Inoculation can be done outdoors on a folding table if you're using cold-pasteurized straw - its elevated pH prevents the growth of common contaminants but doesn't affect the mushrooms.
Check out our detailed guide on how to inoculate straw with grain spawn
Step 3: Incubation
Once the straw is inoculated, it needs to incubate for 10-21 days at 68-72°F out of direct sunlight. Try to not disturb the straw when checking on it and keep it in a clean room away from pets to avoid contamination. If you notice any green or black mold, inconsistent growth, or a foul odor, the substrate might be contaminated.
After 1-2 weeks, your substrate should be finished incubating. Follow directions for fruiting as soon as you see pins!
Check out our detailed guide on how to manage contamination when growing mushrooms
Step 4: Fruiting
Mycelium needs a humid environment with lots of fresh air and some light to stimulate healthy mushroom growth. If you're growing outdoors, this can be under a tree or shade structure with patio misters on a timer. Or just use a spray bottle on your kitchen counter!
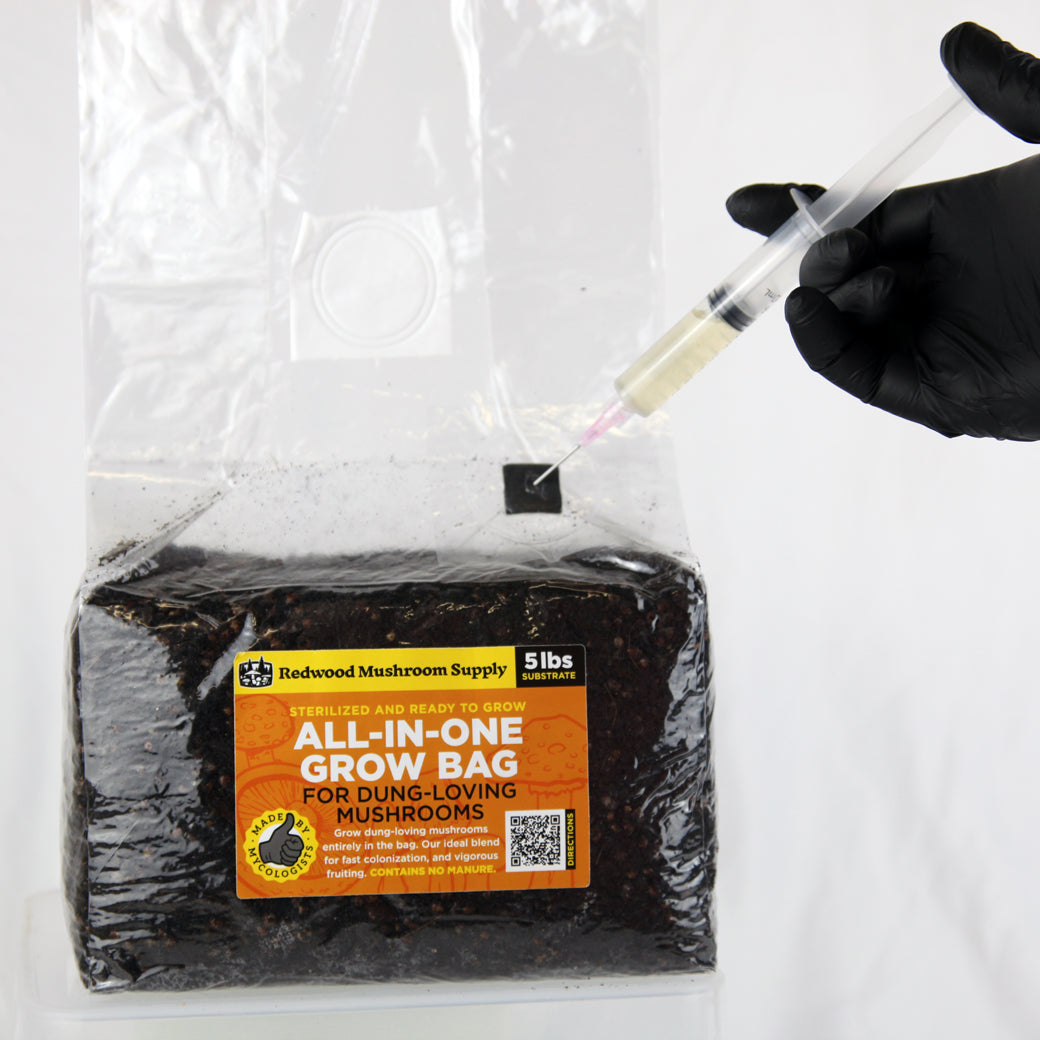
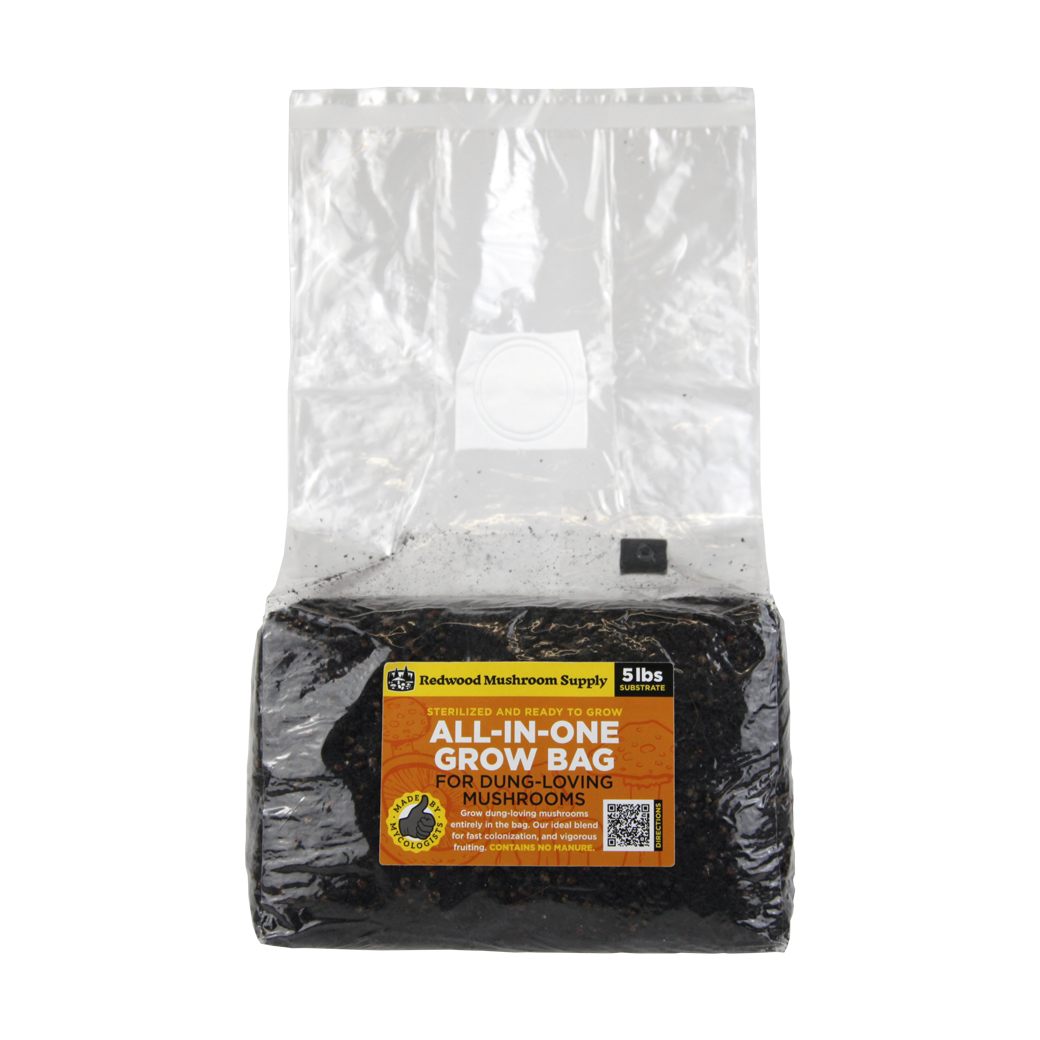
If you're using mushroom grow bags with a filter patch, you'll want to cut an "X" or window about the size of a quarter for the mushrooms to grow through. Exposing the substrate to oxygen will trigger it to begin fruiting.
Check out our detailed guide on how to grow mushrooms outdoors
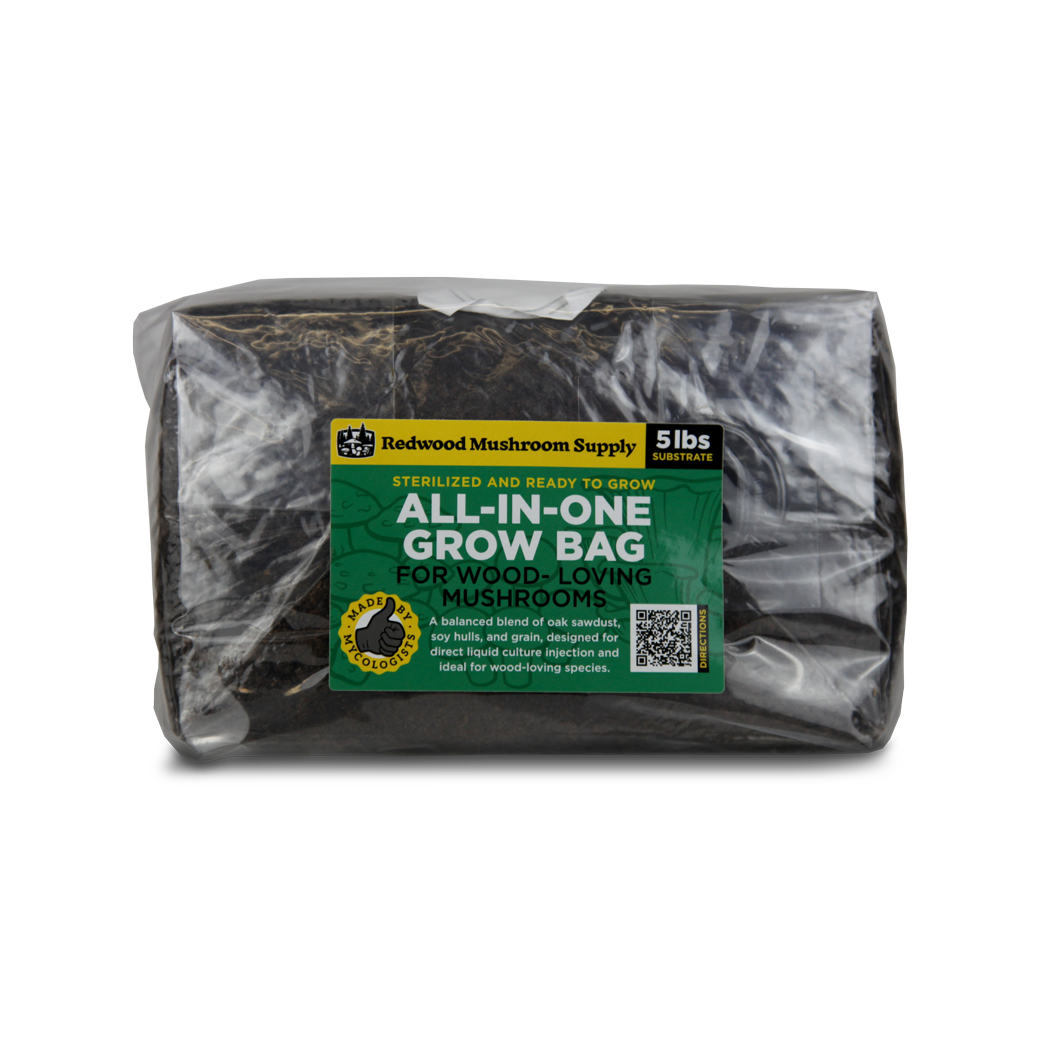
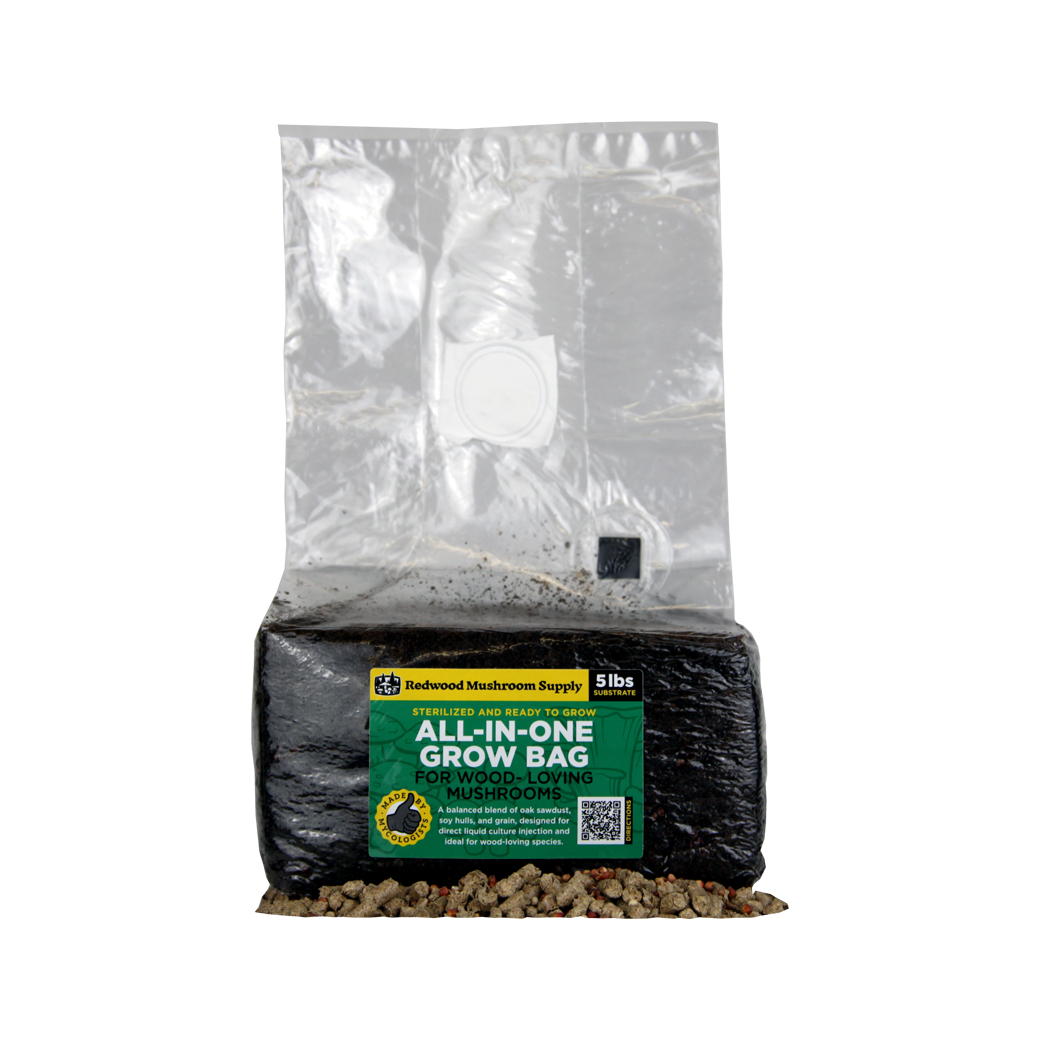
Or if you're using grow bags, read our mushroom grow kit instructions
Step 5: Harvest!
7-12 days after pinning begins, your mushrooms should be ready to harvest. Their color may start to fade slightly - you'll want to harvest the mushrooms just before their cap margins flatten. Harvesting sooner will give them a firmer texture, but they lose flavor and shelf life once spores are released. If you're unsure, it's always best to harvest early and save its energy for a 2nd flush!
If you're going for multiple harvests, twist the mushroom at its base when harvesting. Stems that are left behind can become points of contamination, but you can remove them with a clean knife if you're careful about minimizing damage to the healthy mycelium.
Getting More out of Your Substrate
Once you harvest your mushrooms, the mycelium will need to rest for 5-7 days before it will grow again. If you have a humid environment, you can leave the mycelium undisturbed until it begins fruiting out of the same holes. If you're using a grow bag, it's best to seal your first hole with packing tape and cut a new hole elsewhere on the bag for your 2nd flush.
Each additional flush is about 1/2 the weight of the first, so after 2-3 flushes we will compost the spent substrate. This composted straw will break down very quickly and will likely produce volunteer mushrooms if you have a dedicated pile!